


Hey there! If you're looking to upgrade your building's insulation and durability, installing insulated steel panels is a fantastic choice. As an insulated steel panel supplier, I've helped countless customers with this process, and I'm here to share my insights with you. In this blog, I'll walk you through the step-by-step process of installing insulated steel panels, from preparation to the finishing touches.
Step 1: Planning and Preparation
First things first, you need to plan your installation carefully. Measure the area where you'll be installing the panels. Make sure you double-check your measurements to avoid any costly mistakes. You can use a tape measure and a level to get accurate readings. Write down all the measurements and calculate how many panels you'll need.
Next, take a look at the surface where the panels will go. It should be clean, dry, and level. If there are any bumps, holes, or debris, fix them before you start. You can use a grinder to smooth out rough spots or fill in holes with a suitable patching compound. A level surface is crucial for a proper fit and long-lasting installation.
Once you've got all the measurements and the surface is prepped, it's time to gather your materials. Obviously, you'll need the insulated steel panels. But don't forget about the fasteners, like screws and nails, and any sealants or adhesives that might be required. It's also a good idea to have a ladder, a drill, a hammer, and a caulking gun on hand. And if you're working on a large area, consider getting some safety equipment, like gloves and safety glasses.
Step 2: Selecting the Right Panels
As your insulated steel panel supplier, I know there's a wide variety of panels out there, and choosing the right one can be a bit overwhelming. First, think about the insulation requirements. If you're in a cold climate, you'll need panels with high R-values. The R-value measures the insulation's resistance to heat flow, so the higher the number, the better the insulation.
Another factor to consider is the panel's thickness. Thicker panels usually offer better insulation, but they might also be heavier and more expensive. You'll need to find a balance based on your budget and your insulation needs.
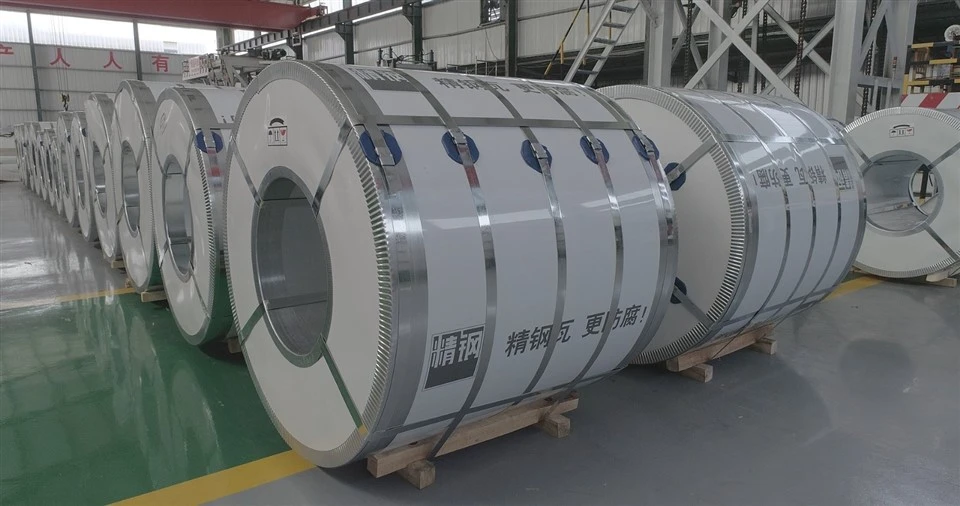
The finish of the panel is also important. You want something that looks good and is durable. Some finishes are more resistant to corrosion and scratches, which can be a big plus in the long run. By the way, if you're also interested in other roofing materials, you can check out our Metal Roofing Coil, Anti-corrosion PPGI, and Heat-isulation Roofing Sheet.
Step 3: Installation Process
Now, let's get to the actual installation. Start by laying out the first panel at the bottom corner of the area you're covering. Make sure it's level and aligned with the edges. You can use a level to double-check. Once it's in place, secure it with the fasteners. Drive the screws or nails through the pre-drilled holes in the panel and into the surface below.
As you install each panel, make sure it fits snugly against the previous one. You might need to use a rubber mallet to tap it into place gently. Pay close attention to the joints between the panels. These are critical areas where air and moisture can leak in if not properly sealed.
For the vertical joints, apply a bead of sealant or adhesive before joining the panels. This will help create a tight seal and prevent any leaks. For the horizontal joints, you can use a special flashing or a sealant tape to ensure a watertight connection.
As you work your way up, keep checking the panels for level and alignment. It's easy to get off track, especially if you're installing a large number of panels. If you notice any panels that aren't quite right, don't be afraid to adjust them. It's better to fix it now than to have problems later.
Step 4: Trimming and Finishing
Once you've installed all the panels, you'll probably need to do some trimming. Use a tin snips or a power saw to cut the panels to fit around any obstacles, like windows, doors, or vents. Make sure you wear safety goggles when cutting the metal to protect your eyes from flying debris.
After trimming, it's time to add the finishing touches. You can use decorative trims or flashing to cover the edges and give your installation a professional look. These trims also help to protect the edges of the panels from damage and further improve the waterproofing.
Finally, inspect the entire installation. Check for any loose fasteners, gaps in the joints, or areas where the sealant might not have been applied properly. Fix any issues you find right away to ensure the long-term performance of your insulated steel panels.
Step 5: Maintenance and Care
Installing insulated steel panels is a big investment, and you want to make sure they last as long as possible. Regular maintenance is key. Inspect the panels at least once a year for any signs of damage, like dents, scratches, or rust. If you find any problems, address them immediately.
Clean the panels periodically to remove dirt, debris, and any contaminants. You can use a mild detergent and a soft brush or cloth to clean the surface. Rinse thoroughly with water and let it dry. Avoid using abrasive cleaners or tools that could scratch the finish.
Check the sealants and adhesives regularly, too. Over time, they can dry out or crack. If you notice any issues, reapply the sealant or adhesive to maintain a tight seal.
Why Choose Our Insulated Steel Panels?
As an experienced supplier, we take pride in offering high-quality insulated steel panels. Our panels are made from premium materials, ensuring excellent insulation properties and durability. We have a wide range of options to choose from, so you can find the perfect panels for your specific needs.
Our team of experts is always ready to provide you with professional advice and support. Whether you have questions about the installation process, the right panel selection, or maintenance, we're here to help.
Contact Us for Your Purchase
If you're interested in purchasing insulated steel panels or have any questions about the installation process, don't hesitate to contact us. We're more than happy to discuss your project and provide you with a quote. If you're considering other roofing materials, also check out our Metal Roofing Coil, Anti-corrosion PPGI, and Heat-isulation Roofing Sheet.

Let's work together to make your building more energy-efficient and durable with our top-notch insulated steel panels!
References
- Building Construction Handbook
- Insulated Metal Panel Association Guidelines


